Every village, town or city has its past, has well known and loved old photographs taken way back at the turn of the 19th century, even earlier in some cases and my hometown of Hartlepool, a medium sized seaside town on the NE coast of the UK has its fair share.
These old photographs are of course black and white and because of their age and how photographic plates were developed in the day are usually not that good a condition, there are flaws when they were developed and because of the technology of the time light area are usually overexposed while the darks are completely underexposed so a while ago I had the thought getting hold of some of these old photos and trying to paint them, bring them to life with a bit of colour and try and put the details back in the light and dark areas.
Of course because the dark areas are completely black I had to use a bit of imagination to fill the area in and of course I had to convert the scene into colour so I also had to make some careful judgments to what colours I actually would use!
When it came to the colours I wanted to keep the palette limited and to tone down the colours because I did not want a bright cheerful picture, Hartlepool at the turn of the last century was an industrious town, smog, dirt so I imagined the buildings to have a dirty look to them and I wanted this to show in the paintings. Also because the distance in these old photos generally degrades so much that nothing much is visible the paintings would have to have a certain looseness with merely hints of details. Here are a few that I've painted.
Materials used : Arches 140lb rough paper, a mixture of Daler Rowney, Winsor and Newton and Daniel Smith artist quality paint.

This is a view of Church Street with a couple of them dang new fangled horseless carriages! All of these buildings are still there.
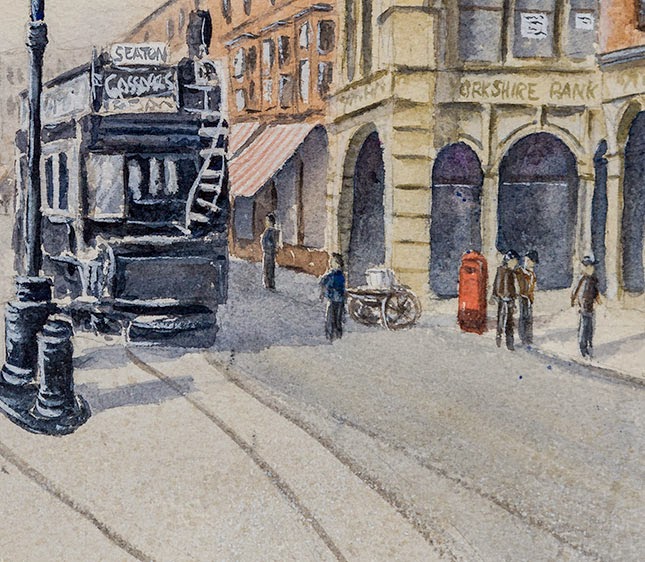
Detail view.
.jpg)
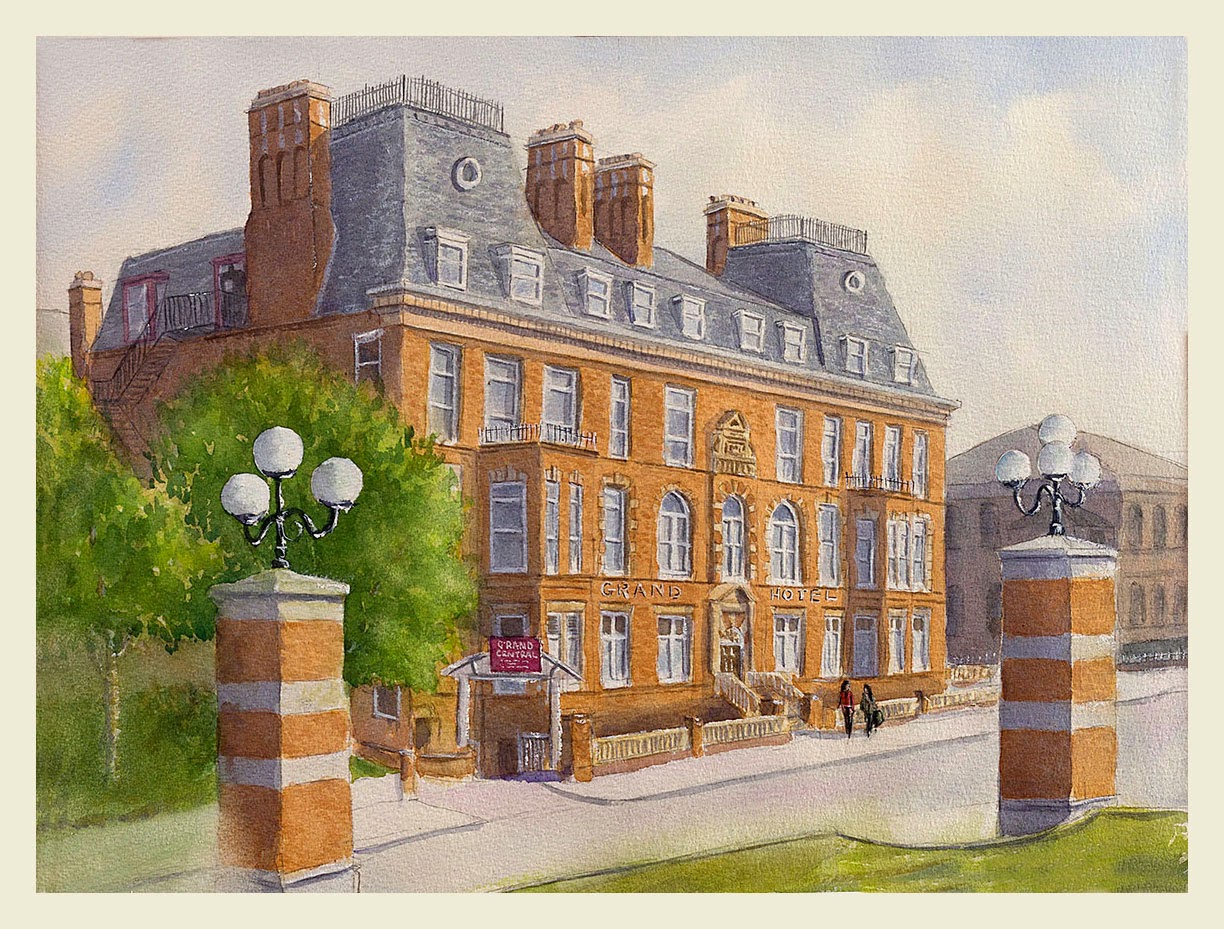
A view looking up Victoria road about 1899, Church street is just behind us. The large building to the left was William Grey dress makers, then Binns stores and now Wilkinsons. The Grand Hotel and the Wesley chapel are still standing today.

Detail view.

Lynn Street, Hartlepools main shopping thoroughfare until demolished in the early 70,s and replaced with our present shopping centre a short distance away.

I photographed the above picture and converted it to B&W to see how it would fare!
.jpg)
The Croft on Hartlepool headland and the oldest part of the town which stretches back to AD 640.
The croft was demolished in the 1930,s and all the white houses on the right of the picture are long gone but everything else still survives to this day.


.jpg)